After using your mobile phone and power tools for a long time, the battery starts to wear out. We need to check if there is a problem with the battery. If you are doing DIY, you also need to check if the battery can be used. At this time, you need to use an external meter to measure the battery voltage to determine whether the battery is charged or not.
Battery testing with a multimeter cannot test battery capacity and health. This article guides you through safe steps for multimeter testing.
Table of Contents
ToggleRequired tools
Make sure you have everything ready before you start testing, so you can get accurate voltage and ensure safety. Here are the specific tools you need:
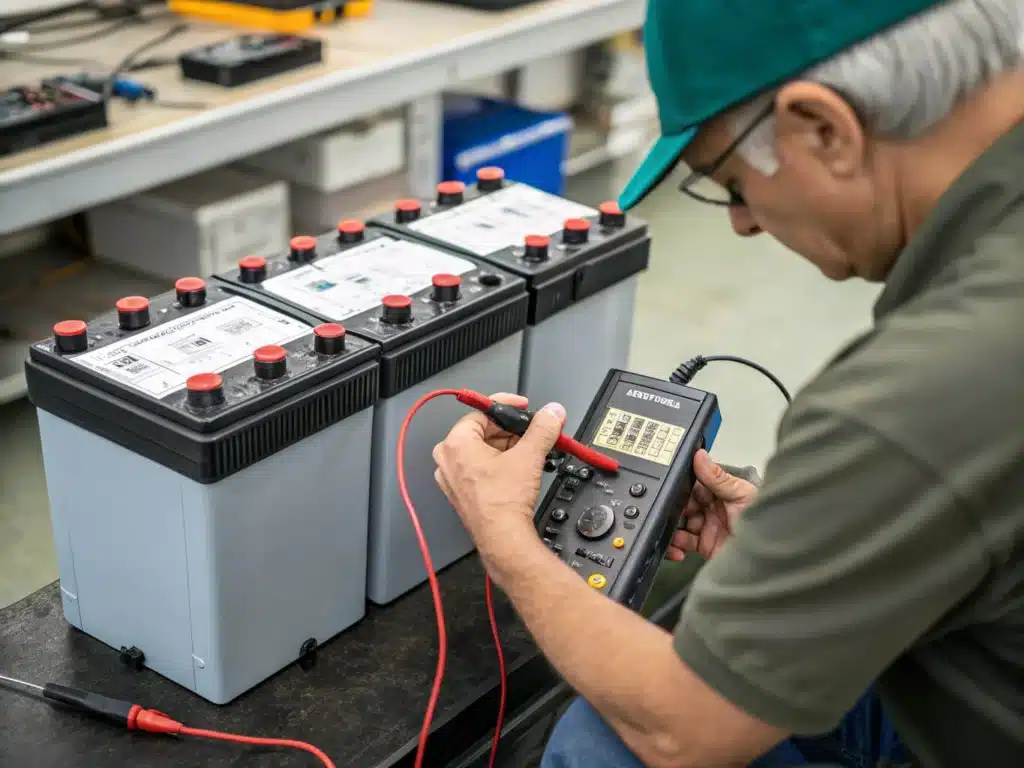
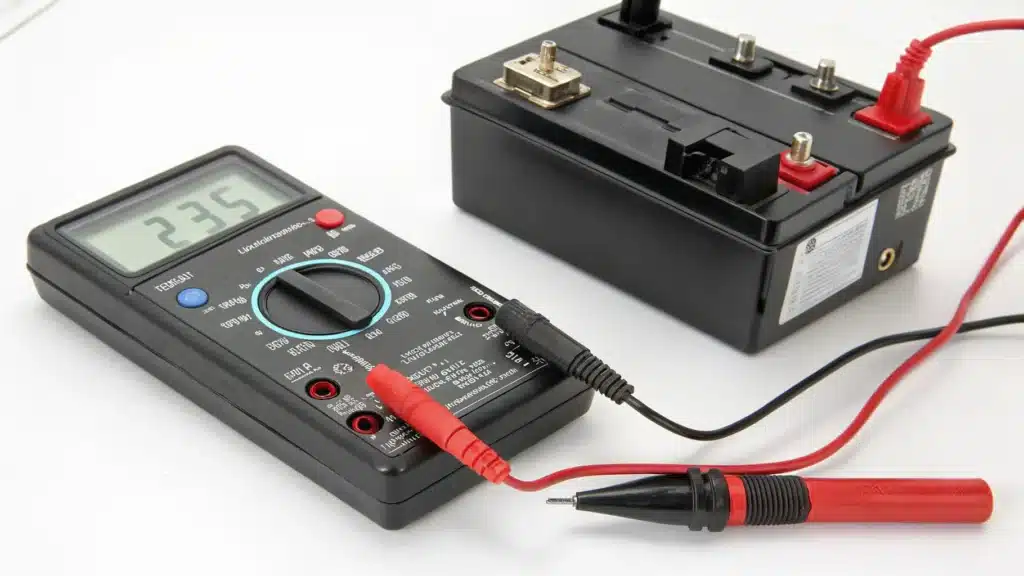
Multimeter: This is a core tool, without it you can’t measure. We recommend a digital multimeter because the screen displays numbers directly, which is much easier to read than the old pointer meter and is not easy to read wrong.
Lithium battery to be tested: This is of course necessary and is the target you want to check.
Safety protection: Insulated gloves and goggles. Although it is just a voltage measurement, it is a lithium battery after all, so an extra layer of protection is always good, especially for beginners or if you are not sure about the battery condition.
Check the nominal voltage of the battery. Common mobile phone batteries are 3.7V, some power tool batteries may be 18V, the lithium iron phosphate used to start a car may be 12.8V, and battery cars may be 48V, 60V, etc. Before testing, you need to know the nominal voltage of the battery to test it correctly.
Master the multimeter settings. The multimeter has many functions and should not be used randomly. Before you measure the battery voltage, you must turn the knob to the DC voltage setting (DC). This setting is usually marked with VDC, V=, or V with a straight line and a dotted line (V⎓) next to it.
Range selection for external meters. If your multimeter is manual, you need to select a range that is larger than the nominal voltage of the battery. For example, to measure a battery with a nominal voltage of 3.7V, you may need to select the 20V range, not the 2V range. If the range is too small, the measurement may not be possible, and the multimeter may even be damaged. If the range is too large (such as 200V), the reading may not be accurate enough. Now many multimeters have an automatic range function, which makes it easy. Just switch to the DC voltage range, and it will automatically select the appropriate range.
Voltage measurement steps
Now we will explain the specific operation of measuring battery voltage to ensure that you can follow it step by step.
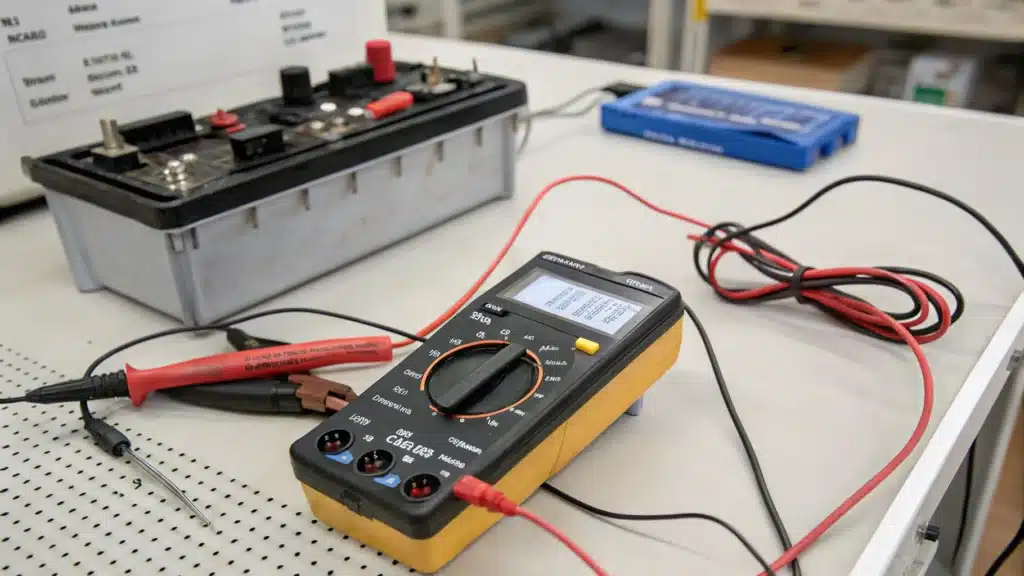
Step 1: Set up the multimeter
Before measuring voltage, set up the multimeter. Turn the knob to the DC voltage (DCV or V-) position. Select the appropriate range, a range larger than the battery voltage, or use an external meter with an automatic range. Check whether the red and black test leads (also known as external meter probes) are plugged into the right place. Usually, the black test lead should be plugged into the hole marked with ‘COM’ (common terminal), and the red test lead should be plugged into the hole marked with ‘V’ (or VΩmA, etc., which indicates voltage, resistance, or low current). If you plug them in the wrong way, you won’t be able to measure it, and it may even be wrong.
Step 2: Identify battery terminals
This step is relatively simple. Pick up the battery you want to test and look closely to find the ‘+’ (positive) and ‘-‘ (negative) signs on the battery. Most batteries will have clear markings.
Step 3: Connect the probes
Make sure to touch the red test lead to the positive (+) terminal of the battery, and the black test lead to the negative (-) terminal of the battery. The metal tips of the two test leads must not touch each other, and the two test leads must not touch other metal parts on the battery casing at the same time, otherwise, it may cause a short circuit! This is very dangerous. At the same time, make sure that the test leads are in good and stable contact with the positive and negative terminals of the battery, and do not make a false connection, otherwise the reading will be inaccurate.
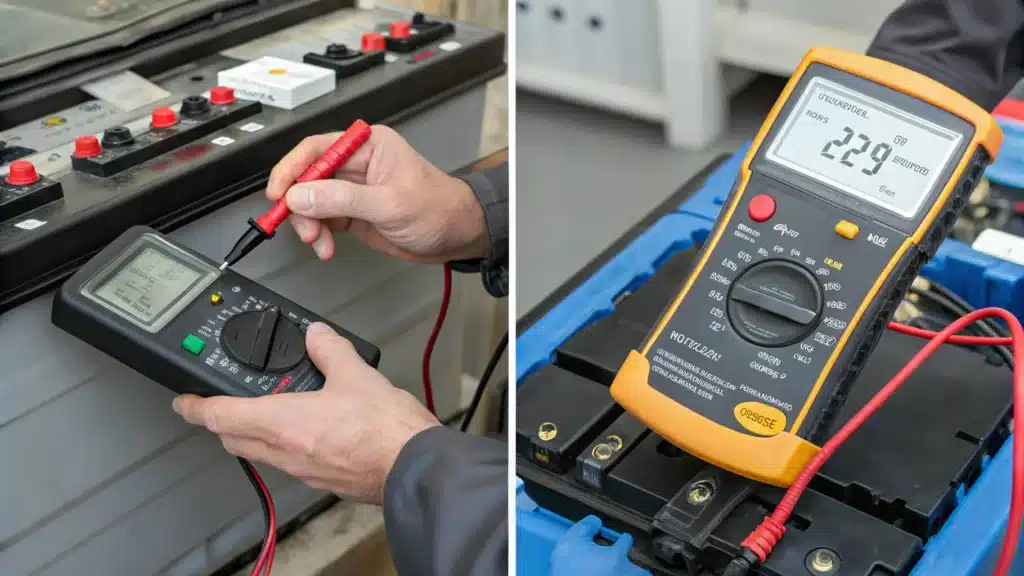
Step 4: Read the voltage
When the test leads are correctly and stably connected to the positive and negative terminals of the battery, you can look at the multimeter display. A number will appear on the screen, which is the current voltage value of the battery. Usually wait for one or two seconds for the reading to stabilize before recording it.
You may see a negative reading (e.g. -3.85V). This usually means you have connected the red and black test leads the wrong way (red lead to the negative pole, black lead to the positive pole). Simply swap the two leads and reconnect them to the positive and negative poles, and the reading will become positive. The negative sign itself does not mean there is something wrong with the battery, it just means the polarity is reversed.
Battery voltage reading
The multimeter displays a number on the screen. So what does this number tell us? Think of this voltage reading as a quick ‘thermometer’ that gives you a rough idea of what’s going on.
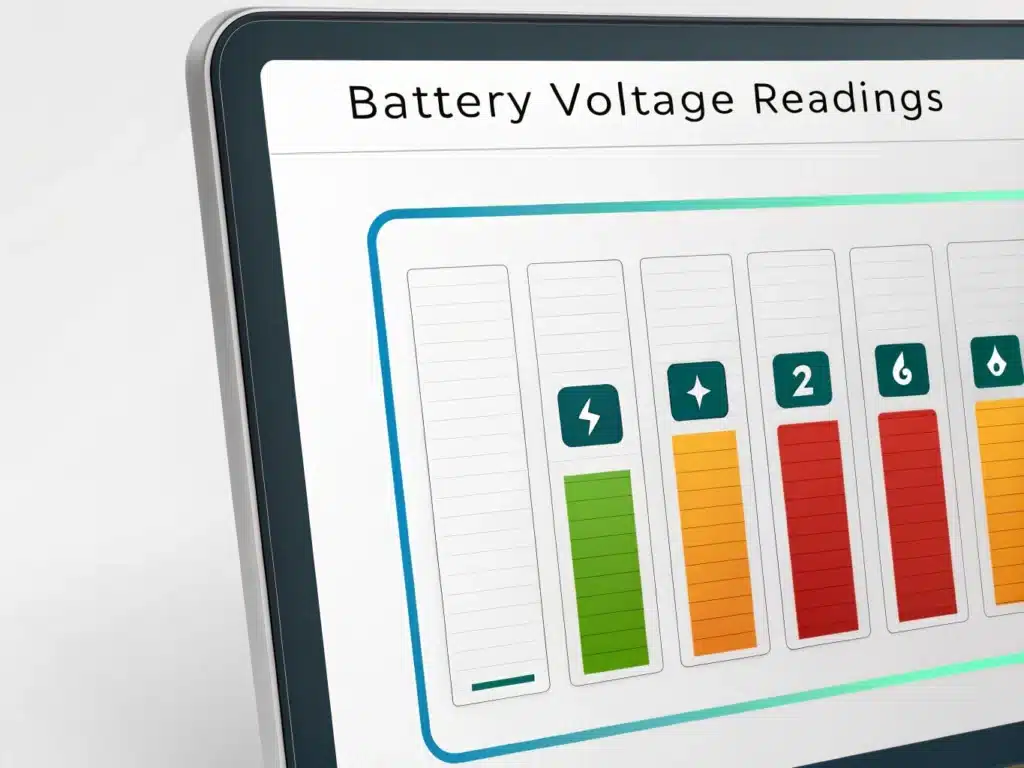
The reading is close to the fully charged voltage: If the measured voltage is very close to the voltage when your battery is fully charged (for example, a nominal 3.7V lithium-ion battery, you measured it to be around 4.1V or 4.2V; or a nominal 12V lithium iron phosphate battery, measured to be between 13.8V and 14.6V), then it usually means that the battery has enough power.
The reading is close to the nominal voltage: If the reading is around the nominal voltage of the battery (for example, a 3.7V battery measures 3.6V to 3.8V; a 12V lithium iron phosphate battery measures around 12.8V to 13.2V), this generally means that the battery still has some power, but is not fully charged and is in an intermediate state.
Readings near or below the cutoff voltage: If the reading is near or below the cutoff voltage (for example, a 3.7V battery is below 3.0V; a 12V lithium iron phosphate is below 10V or 11V), it means that the battery is very low and has been completely discharged. At this time, it may need to be charged immediately, but there may also be something wrong with the battery itself, such as severe aging or internal damage.
The reading is zero (0V) or very very low (such as a few tenths of a volt): If the multimeter displays 0V, or an almost negligible voltage, it usually means the following 2 situations:
The battery is completely dead, there may be a short circuit inside.
For battery packs with a protection board (BMS), the protection board may have activated the protection function and automatically cut off the output. In this case, the battery needs to be charged and activated to recover.
The battery voltage you are measuring now only represents its static index, not the actual discharge capacity of the battery. A normal voltage does not mean that the battery capacity is sufficient or that it is healthy. If you want to know the capacity and health, more complex testing methods and equipment are required.
Absolutely prohibited operations
Here are a few key no-nos:
- Never use the current range (ampere range) of a multimeter to measure batteries directly.
- Likewise, do not use the resistance range (Ω range) or continuity range (buzzer range) to measure the battery directly.
- Be especially careful with metal tools. Avoid accidentally touching both the positive (+) and negative (-) terminals of a battery with tools such as pliers, screwdrivers, and wrenches.
Limitations of multimeter testing
As mentioned above, the voltage standard static indicators are like taking a snapshot. This voltage reading cannot tell you the following key things:
The real capacity of the battery. That is, how long the battery can be used after it is fully charged. A battery with normal voltage may have a significantly reduced capacity.
Internal resistance of the battery. Internal resistance is an important indicator of battery performance. The lower the internal resistance, the stronger the battery’s load capacity. The internal resistance of an aging battery will become higher, and even if the voltage is normal, the output capacity will become weaker. A multimeter cannot measure the internal resistance.
Battery State of Health (SoH): This refers to the overall aging and performance status of the battery. A multimeter cannot measure SOH.
In simple terms, voltage testing is just a basic check, a bit like taking your temperature, which can detect if the voltage is too high or too low, but it cannot tell you the specific capacity and health of the battery.
When the voltage reading is normal, but the battery life is significantly reduced, or the device cannot be powered on, you need to conduct further testing. This requires more specialized equipment, such as:
Battery capacity tester: This device can accurately measure the true capacity of a battery through actual charging and discharging.
Battery internal resistance tester: An instrument specifically used to measure the internal resistance of a battery, which can well reflect the health status and load capacity of the battery.
More professional diagnostic equipment: Some fields (such as auto repair) have specialized battery diagnostic instruments that can comprehensively evaluate multiple battery performance indicators.
Normal Voltage Ranges for Different Lithium Battery Types
| Battery Type | Nominal Voltage (per cell) | Typical Voltage Range (Fully Charged – Discharged) |
|---|---|---|
| LiFePO4 | 3.2V | 3.65V – 2.5V |
| Lithium-ion (LiCoO2) | 3.7V | 4.2V – 3.0V |
| Lithium-ion (LiMn2O4) | 3.7-3.8 | 4.2-3.2 |
Conclusion
Measuring DC voltage (VDC / V⎓) with a multimeter is a basic method to quickly determine whether a lithium battery has power or is seriously depleted. Never use the current range (A/mA) or resistance range (Ω) to directly measure the battery, which is very dangerous. With this understanding, I hope you can be safer and get more accurate voltage when handling and using lithium batteries in the future.
FAQs
No, a multimeter cannot directly test Cold Cranking Amps (CCA). CCA is a measure of a battery's ability to start an engine in cold temperatures, and it requires specialized testing equipment.
Yes, there are potential sources of error:
- Multimeter Accuracy: The accuracy of the multimeter itself.
- Probe Connections: Poor connections between the probes and the battery terminals.
- Temperature: Temperature affects battery voltage and internal resistance.
- Load Conditions: Measurements can vary depending on whether the battery is under load.
- Human Error: Incorrect settings or readings.
- Always wear safety glasses.
- Work in a well-ventilated area.
- Never short-circuit a lithium battery. This can cause a dangerous surge of current, leading to overheating, fire, or even explosion.
- Use the correct multimeter settings and ranges.
- If a battery is damaged, swollen, or leaking, do not test it. Dispose of it properly.
- Disconnect the battery from any load or charging circuit before measuring voltage or resistance.
- Be sure to use insulated probes.