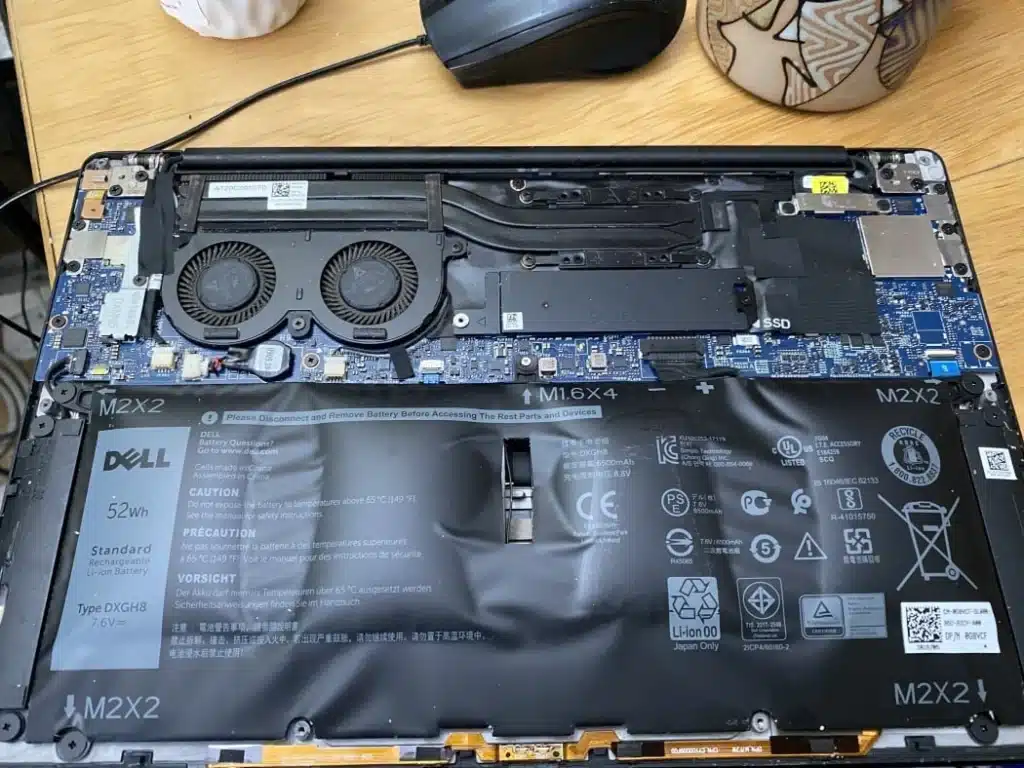
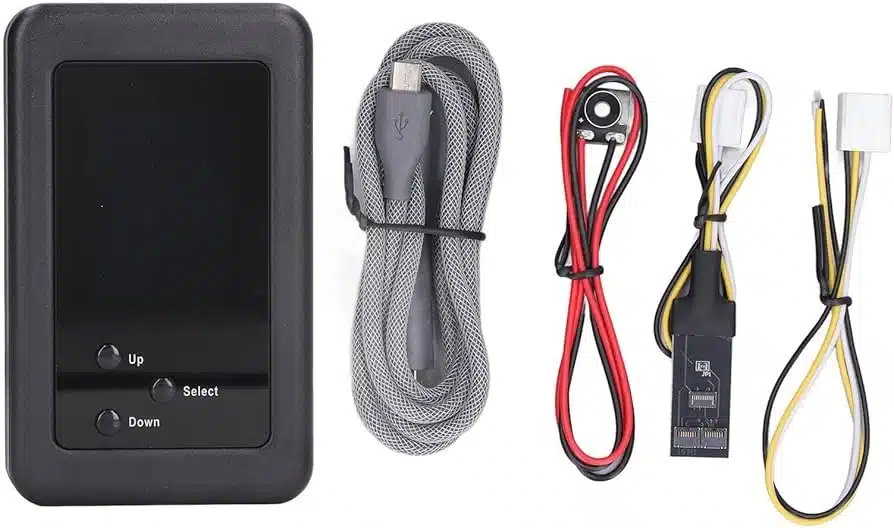
Your power tools are out of power, your laptop can’t work for a whole day, and you need to be ready to charge it at any time. If the battery has these problems, can you repair them yourself besides replacing them with new ones? This article will take you to explore the feasibility of lithium battery repair and analyze in detail the key tools and core technologies required in the repair process.
Lithium battery repair has inherent and non-negligible risks. The information provided in this article is for learning and technical reference only and does not constitute professional repair advice. You are fully responsible for all possible risks and consequences.
Table of Contents
ToggleCommon problems of lithium batteries

Many of the devices we use in daily life are underpowered or unable to work. The main reason is that there is a problem with the lithium battery. The reasons for this are as follows:
The battery cell ages and the capacity decays. After a lithium battery is used for a long time, the activity of the chemical substances inside it will gradually decrease, and the amount of electricity that can be stored will become less and less, which will manifest as a shorter and shorter battery life.
One or more cells are damaged. The battery pack is composed of many cells. If one or more cells have low voltage and the internal part is enlarged, it will affect the performance of the entire battery pack.
BMS failure. If the battery pack brain is broken, it may misjudge the battery status and not allow charging or discharging; or worse, its protection function fails, and the battery may be in danger.
Connection problem: If the welding points between the battery cells or between the battery cells and the BMS are poorly soldered or disconnected, the battery will not work.
Physical damage. If the battery is dropped, punctured by a sharp object, or accidentally exposed to water, it may directly damage the internal structure or cause a short circuit.
We can determine when repairs can be done and what old batteries need to be replaced based on the specific cause of the failure.
The golden rules of lithium battery maintenance
The most important thing to do before you attempt any repair is to ensure safety.
Personal protective equipment is essential. Insulated gloves are essential, not ordinary labor protection gloves. In case you accidentally touch the positive and negative poles, or touch the metal to short-circuit, such insulating gloves can protect you from electric shock.
Goggles or protective masks must be worn. If a lithium battery short-circuits or has an internal problem, sparks may fly out, or even chemicals may be sprayed. Eyes are very fragile, so this protection must not be omitted.
An anti-static wrist strap is essential. You will directly touch the battery or protection board, and the electronic components on it may be damaged by static electricity. Wearing this can reduce this risk.
Maintain a well-ventilated environment. If a lithium battery fails, it may emit gas or smoke, which can be dissipated in time.
It is best to have a fire extinguisher ready so that you can put out the fire quickly in case of fire or smoke.
Short circuit is strictly prohibited. If the positive and negative poles of the battery are in direct contact, a large current will be released instantly, which is very likely to cause a fire or explosion. During the maintenance process, do not pierce it with sharp objects or squeeze it hard.
Pay attention to the battery’s reaction. If you notice that the battery is abnormally hot, starts to smoke, smells a pungent odor, or sees it bulge and deform, these are very dangerous signs. Once these situations occur, you must stop all operations immediately.
Required tools and recommended equipment

If you decide to attempt to repair a lithium battery, here are the tools and equipment you will need.
Multimeter, a basic diagnostic tool. It can detect voltage, current, and internal resistance.
The lithium battery internal resistance tester can determine the health status of the battery cell, whether it is aging, and the battery pack.
Insulated screwdriver and tweezers, which can disassemble the battery pack casing and separate the battery cells and connecting wires.
Electric soldering iron: If you need to replace the BMS protection board or repair broken connecting wires, soldering is inevitable.
Battery spot welding machine, if you need to replace the battery cell, or reconnect the battery cell, spot welding is currently the safest and most professional way to connect. However, generally only lithium battery factories have such equipment as welding machines.
Auxiliary materials: Insulation tape, heat shrink tube. These are used for insulation protection to prevent the solder joints from being directly exposed.
Lithium battery maintenance core technology and steps
The following is a hands-on look at the core technologies and processes for repairing lithium batteries. First, discover the cause of the lithium battery problem.
Perform an external inspection to see if the lithium battery is bulging, leaking, or deformed. These are the most obvious danger signals and are most likely beyond repair.
Measure the total voltage at the output of the battery pack and the voltage across the battery cells. Use a multimeter to measure the total voltage of the entire battery pack, remove the protection board, and then measure the voltage of the battery cells.
Measure the voltage and internal resistance of a single battery cell. Use a multimeter to measure the voltage and internal resistance of each battery cell one by one. The voltage of a healthy lithium battery cell is generally between 3.0V and 4.2V. Compare whether the internal resistance is within a reasonable range.
Check the working status and wiring of the BMS. Check whether the components of the protection board are obviously burned or damaged, broken, poorly soldered, or incorrectly soldered.
By going through this process, you can basically determine whether the problem lies with the battery cell, the BMS, or the connecting line.
If the diagnosis finds that the problem is with the battery cell, select a new battery cell with the same model, voltage, capacity, and internal resistance to replace it. This requires an electric welder to connect the new battery cell, and as a last resort, use a soldering iron.
If the problem is on the BMS protection board, make sure the new protection board supports the same series value, and the maximum working current and continuous working current meet the power requirements of the equipment. Make sure all spot welding and welding places are firm and reliable, and do a good job of insulation.
Post-maintenance testing and precautions
If you have repaired or replaced it, you still need to do a final test. Measure the total voltage and output after assembly, and use a multimeter to measure the total voltage of the battery pack to see if it has returned to the normal range. At the same time, also check whether the output terminal of the BMS has a normal voltage output.
Charge and discharge cycle test: After the initial test is OK, it is recommended to perform at least 1 to 2 complete charge and discharge cycles. This process can help us evaluate how much of the actual capacity of the repaired battery has been restored. Keep an eye on the temperature of the battery. A slight temperature rise is acceptable, but it must not feel hot.
Conclusion
In general, lithium battery repair is feasible, but it does require a high level of technical ability and safety awareness. If you are not completely sure at any stage of diagnosis and repair, you can seek help from professional repair services, or contact the lithium battery factory directly for help.
